I’ve only recently subscribed to this beauty box (two months to be exact) and it’s become my favourite! What makes this box different from the others? Well first of all all the products in it are cruelty-free AND vegan. And secondly, all the products in the box are FULL-SIZE products, not dinky tester/sample sizes, and each month you receive 3-5 full size products. How amazing is that? And last but not least, what sets this beauty box apart from all the others is the fact that it’s got some seriously edgy products and colours. If you’re one who wishes to play it safe, then this may not be the best beauty box for you, but if you love glitter and makeup with some serious attitude, then this is the brand for you!

What I got this month:
- Metal AF Lipgloss in Cherry Pie (retails for $11)
- False Eyelashes in Heavy (retails for $9)
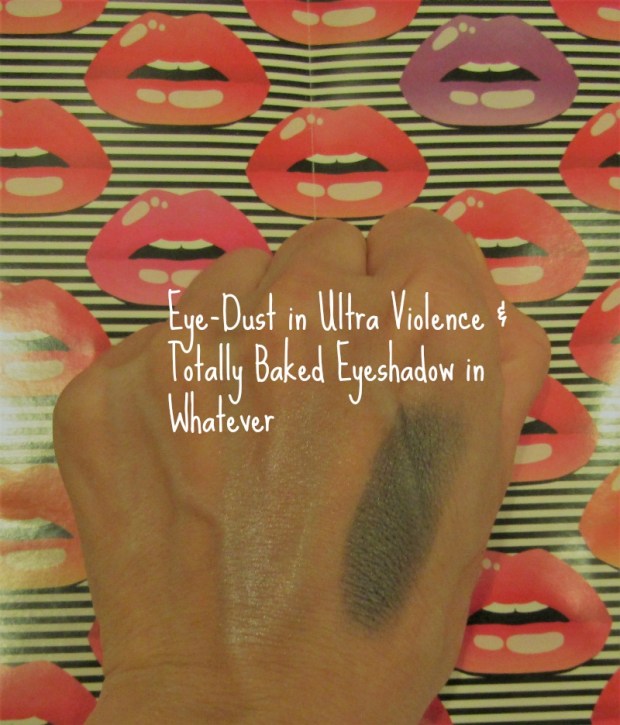
- Totally Baked Eyeshadow in Whatever (retails for $9)
- Eye Dust in Ultra Violence (retails for $8)
Total value of the box: $37
Actual price of the beauty box: $15.95

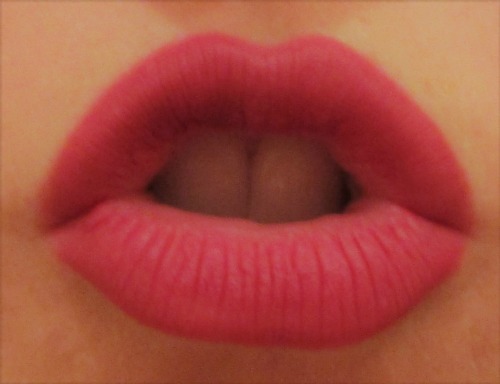
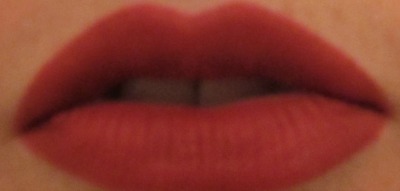
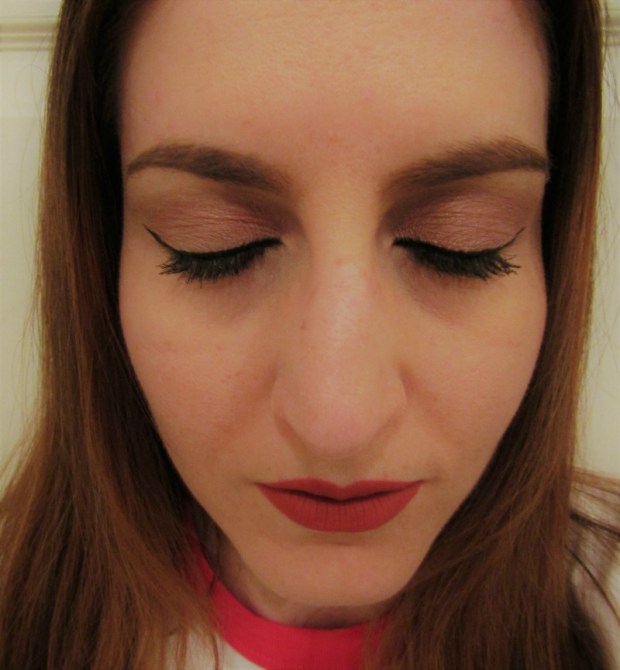
Metal AF Lipgloss in Cherry Pie
I was really hoping to get this lipgloss (which is odd since I’m usually NOT a fan of lipgloss), but the colour is absolutely GORGEOUS (it kind of reminds me of Urban Decay’s Gash lipstick), but unlike other lipglosses, this one isn’t tacky, sticky, nor does it fade. Oh, and did I mention that it’s highly pigmented, cause IT IS.

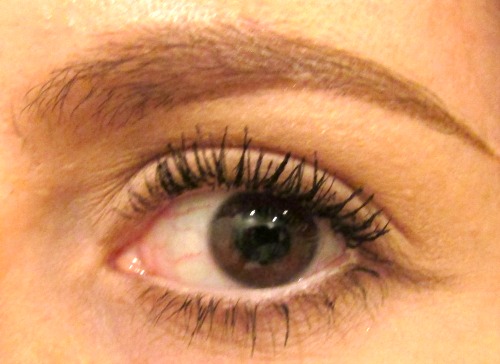
False Eyelashes in Heavy
I’m not a fan of fake lashes because I often find little use for them in my everyday life, but I do like to use them on occasion if I’m doing a photoshoot. These look absolutely pretty without looking trashy.
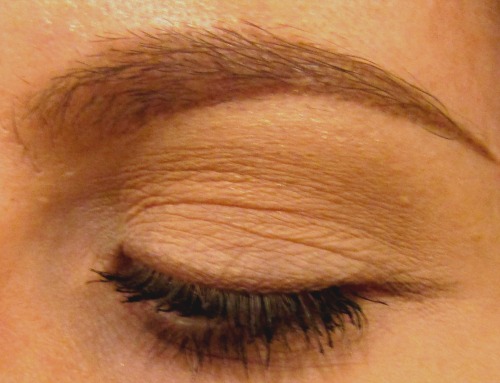
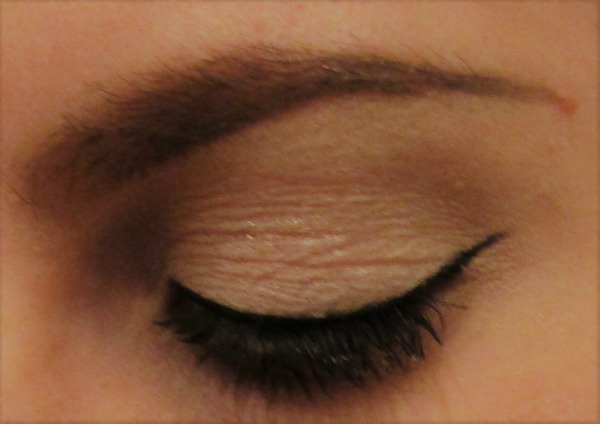
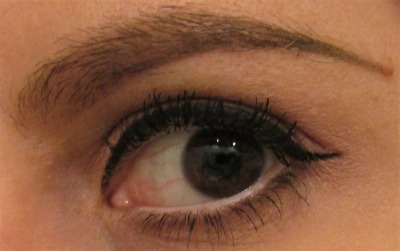
Totally Baked Eyeshadow in Whatever
This eyeshadow is truly pigmented and very blendable. I also love this shade cause it’s good to use as liner or in the crease for a smoky eye-look.
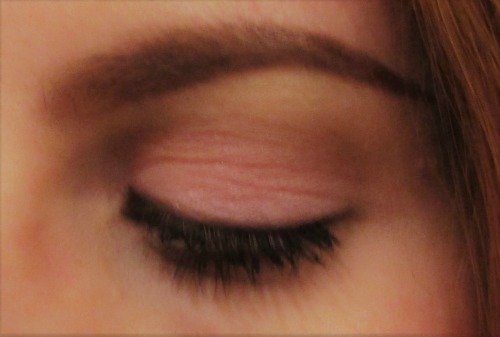
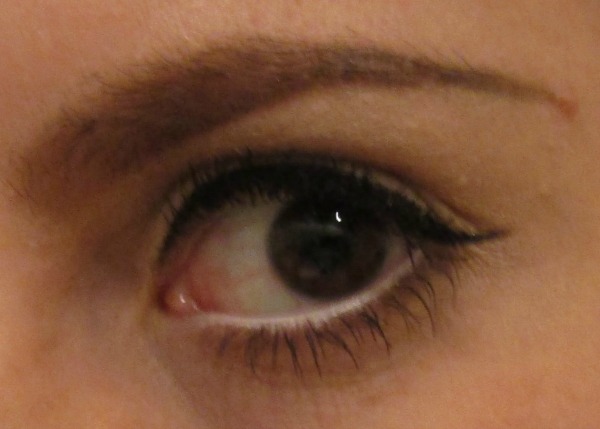
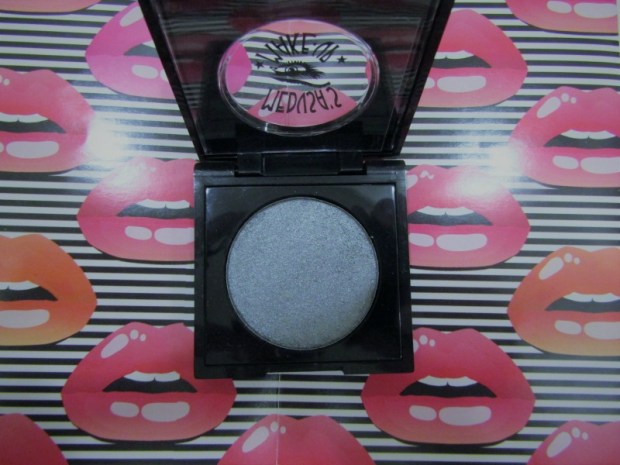
Eye Dust in Ultra Violence
This shade is so pretty and the sparkle is subtle, not too heavy. This is the lavender shade that Wednesday Addams would reach for if she was trying to feel girly but still wanted stick to her edgy goth roots.
Which of these products would you love to try out? I’m very pleased with this month’s selections and can’t wait to see what Medusa’s Makeup has in store for September!
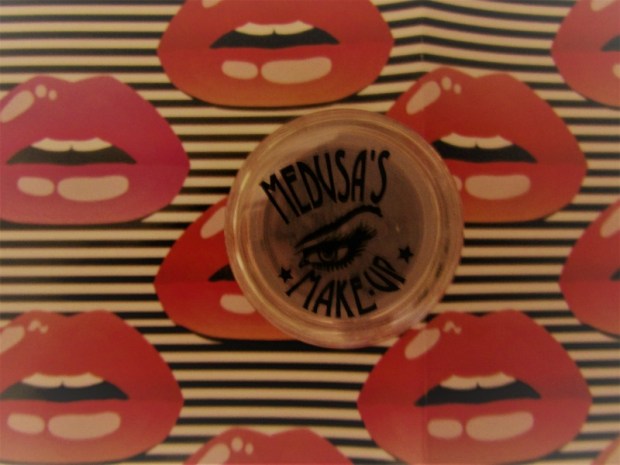
Check out Medusa’s Makeup here: https://medusasmakeup.com/
By: Azzurra Nox